Rails App - Creating a New App
Phase One
Creating a New Application
We’re going to create a new Rails application named scriba. First we
need to create a projects directory. Don’t forget about the Rails
Beginner Cheatsheet
in case you get stuck.
Install Rails
The first thing we need to do is ensure that the rails gem is
installed on the system. Open your terminal and install the gem:
$ gem install railsThere are a lot of dependencies, so this could take a few minutes.
Create Projects
Now we can start setting up the project. Create a projects directory
that will contain all of your web application projects.
$ mkdir -p ~/projectsVerify that the projects directory was created by running the list
command. You should see the new directory in the output. Once you verify
that the directory is there, you can change the directory to
projects.
$ ls
$ cd projects
Create New Rails Application
Now we’re ready to create a new Rails application. We do this by running
the rails command, giving it a name for the project.
$ rails new scribaThere will be a lot of output as Rails generates the files needed for
your application. Once finished, change directories into the new
scriba directory.
$ ls
$ cd scriba
Now that we’re here, list what’s in the directories. You should see
directories like app and config. This is where all of the files
Rails needs to work are located. Before we start working on anything,
let’s make sure that the application is working. We can start the
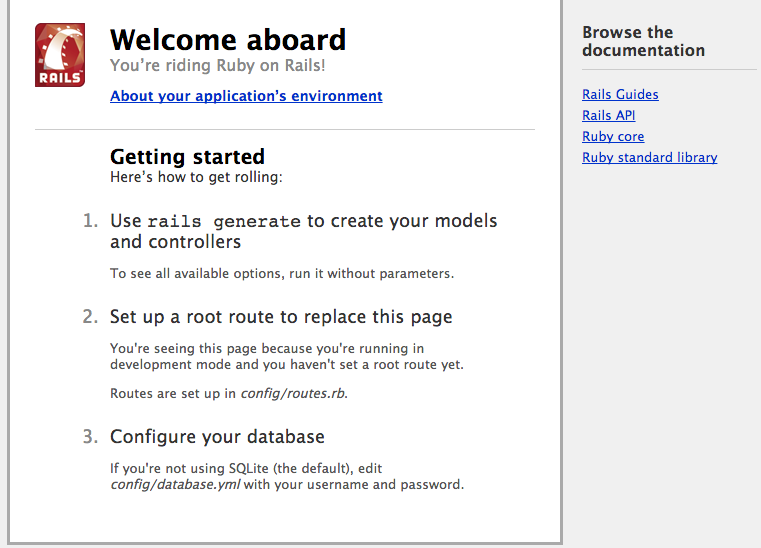
included web server with this command:
$ bin/rails serverOpen your web browser to http://localhost:3000. You should see something along these lines.
When you are ready to stop the server, hit the ctrl and c keys
at the same time.
Rails Anatomy
If you run ls in your scriba directory, you’ll notice there are a lot of
files and directories because of the convention over configuration
principal. Convention over configuration simply means that emphasis is
placed on using already established ways of creating code and where those
files should be placed, rather than trying to figure those things out from
scratch. Some assumptions and ways of doing things are already made for you.
The following outlines what the different parts of what each do the in the
application.
| File/Folder | Purpose |
|---|---|
| app/ | Contains the controllers, models, views, helpers, mailers and assets for your application. You'll focus on this folder for the remainder of this guide. |
| bin/ | Contains the rails script that starts your app and can contain other scripts you use to deploy or run your application. |
| config/ | Configure your application's routes, database, and more. This is covered in more detail in Configuring Rails Applications. |
| config.ru | Rack configuration for Rack based servers used to start the application. |
| db/ | Contains your current database schema, as well as the database migrations. |
| Gemfile Gemfile.lock |
These files allow you to specify what gem dependencies are needed for your Rails application. These files are used by the Bundler gem. For more information about Bundler, see the Bundler website. |
| lib/ | Extended modules for your application. |
| log/ | Application log files. |
| public/ | The only folder seen by the world as-is. Contains static files and compiled assets. |
| Rakefile | This file locates and loads tasks that can be run from the command line. The task definitions are defined throughout the components of Rails. Rather than changing Rakefile, you should add your own tasks by adding files to the lib/tasks directory of your application. |
| README.rdoc | This is a brief instruction manual for your application. You should edit this file to tell others what your application does, how to set it up, and so on. |
| test/ | Unit tests, fixtures, and other test apparatus. These are covered in Testing Rails Applications. |
| tmp/ | Temporary files (like cache, pid, and session files). |
| vendor/ | A place for all third-party code. In a typical Rails application this includes vendored gems. |
Git
Now that we have something that is working, it is a good time to get
everything we have in git. We first need to initialize the repository,
then add the generated files, then commit them with a message about what
we did so far.
$ git init
...
$ git add .
$ git commit -m "Generated initial rails application"
Summary
Congratulations! You just created your first Rails application. It doesn’t do much (yet), but is a fully functioning Rails application. In the next module we’ll talk a bit about what the pieces of a Rails application are and how to start making the application do what we need it to.